Wednesday 4 February 2015

Jessie Ware at The Brixton Academy


One of my new years resolutions was to use London more, living in London is something I take very much for granted. When I first moved to London I was all about exploring, always checking Time out for the latest batch of things to do in the city, but the last few months things have slipped - I increased my hours at work, the nights drew in and I find myself sitting in front of Netflix far to often!! 

I've not done amazingly well in January, I guess you could say I'm easing myself in gently, this has involved; Borough Market wandering's, Balham charity shops (love, love, love), Soho burgers and most recently Jessie Ware at the Brixton Academy. 

I must be one of the few people who had never been to the Brixton Academy before, it was such an amazing venue and one I'll certainly be going back to. The floor is sloped so wherever you choose to stand you get a view of the stage, perfect for those who like me can't cope with squishing towards the front and the stage itself has an almost theatre like feel, featuring balconies and turrets. 

Jessie was of corse amazing, I was lucky enough to see her a few years ago at Latitude festival and we were determined to see her again, especially since her new album was released last year, and she did not disappoint. 

February I'm determined to rack up my London outings - watch this space!

Monday 2 February 2015

I Just Wanna Bake - Homemade Peppermint Bark


This recipe follows on (kind of) from last weeks Candy Cane recipe, as this is where a lot of my candy canes ended up, however you don't need have made the candy canes to make the peppermint bark - any style of boiled mint can be used. 

Peppermint bark is essentially three layers of melted chocolate with crushed mints on the top - a super simple recipe that tastes AMAZING, of all the sweets I made my fam for Christmas Peppermint Bark was certainly the fav. 

Ingredients:
-200g White Chocolate
-100g Milk or Dark Chocolate
-Boiled Peppermints (The amount can vary depending upon your pepperminty desires)
-Peppermint Flavouring

*You can alter the kinds of chocolate used to match your preferences, as well as the quantities if you wanted to make a larger(or smaller) batch.

First, line a dish with parchment paper, ready to pour in the first layer of chocolate. Begin by melting 100g of the white choc, when fully melted pour into the dish, ensure it creates an evenly spread layer spanning the dish. Being ever impatient I didn't wait for the white choc to fully set before adding my next layer, I think this worked well though, it allowed the flavours to merge more and created some pretty effects with the chocolate.

Onto the next layer, melt the milk chocolate, but this time before pouring into the dish add a few drops of peppermint flavouring, stir in briefly, ensuring the chocolate doesn't become lumpy,  then pour over the white chocolate. Make sure again that it spans the dish in a nice even layer, covering the white, not to worry if it's not covered completely has the third layer still needs to be added. 

Repeat step one, melting the second white bar and pour over. Yay, now you have your lovely chocolatey base, I loved the amount of melting chocolate involved in this recipe has it meant I got to lick the bowl so many times - love love love melted choc. 

You'll now want to crush your peppermints, or perhaps have them prepared beforehand. I used the end of a wooden spoon to crush mine, although I'm sure a rolling pin would be just as effective. When crushed sprinkle the peppermints over the choc, no need to wait for the choc to set as you'll want to peppermints to sink in. Push the peppermints into the chocolate gently to ensure there in place and won't fall out when the chocolates set. 

Leave the bark to set now, in a few hours you'll have a gorgeous slap of minty-ness, when fully set break into pieces, and there you have it peppermint bark! 

Monday 26 January 2015

I Just Wanna Bake - Homemade Candy Canes


Now I know what your thinking, Candy Canes in January surely not, and you would be correct - this is a very much delayed recipe post from one of my Christmas creations. 

With my recently discovered passion for baking sweets, I decided what better presents to give my lovely jubbley fam for Christmas than some home made goodness. So I set about writing a list of sweets to bake them, and the one flashing at me, surrounded by ding-ding-ding bulbs, screaming Christmas was of cause the candy cane. 

I thought to myself when starting out with this recipe, sure, candy canes, can't be that hard, right? wrong. It wasn't so much the boiling process involved, it was the process afterwards, twisting together two pieces of super hot minted sugar and bending into a candy cane turned out to much more tricky than I'd imagined. I'll try to talk through that aspect of the process in more detail so you'll be more aware if you attempt to make them. Although I have to confess in the end (due to a lack in varieties of food colouring) I turned my canes into mint sweets, and the remainder I used in next weeks recipe: Pepper Mint Bark.

Ingredients:
- 400g granulated sugar
- 120ml golden syrup
- 120ml water
-1/4 teaspoon cream of tarter
-peppermint essence 

Combine the sugar, water, golden syrup and heat in a heavy based pan until they are all dissolved! Bring the mixture to the boil and add the cream of tarter, you'll then want to boil the mixture rapidly until it reaches the hard crack stage. 

You'll now want to half your mixture, pouring  it in half, into two greased dishes, add a few drops of peppermint essence to each and food colouring. You can add any colour you wish, I used red and left the other without has I only had one colour, but I'd recommend using two. (Sadly I couldn't find anywhere that sold white food colouring, so my canes weren't very traditional)

Here comes the tricky bits. With your food colouring and flavouring added you need to sort of kneed the gloops of sugar, I used a metal spatular for help, has the sugar was super hot it was so so tricky. Now pull a piece off of each gloop and try to create long rope like lengths of each, with your two lengths ready, try to twist them together - wrapping them around each other. When the twisting is complete mould into the shape of a candy cane. You will notice that the mixture starts to harden the longer it is left, in order to loosen it and make it more mouldable you can place it in the oven, not too hot though it'll go back to a liquid form. 


I hope this made some form of sense. Perhaps rubber gloves might help with avoiding burning your hands when handling the sugar?

Sunday 25 January 2015

Discovering Podcasts


Commuting to work for me involves either a bus ride or walking, depending upon how active I'm feeling that day, and if I'm willing to get up extra early to get my waddle on. Which ever way I choose to do it, it's time in my day that I have to use travelling, I can't change this time for other activities, it's set, and it's not budging. 

I'm used to popping in my headphones and shuffling through my latest playlist on Spotify, or most recently (when my beloved data runs out), scrolling through my iTunes listening to the same songs on a daily basis. It wasn't until I read several blog posts on podcasts that I started to think maybe this is something I should delve into. I'm so behind when it comes to technology that I didn't even realise there was a separate app for pod casts on iTunes - not thinking it could be that easy to start listening.  I set myself up downloading several episodes of recommended podcasts ready for my walk to work, it was that simple and now I'm hooked.

Although I've got a fair few shows awaiting listening I've found myself continuously going back to the same ones; Being Boss and The Lively Show, I could not recommend these enough.  Although very different podcasts they both focus on the sense of journey's, looking at how creatives have got to where they are now, how they started and considerations along the way. As a creative it's lovely to hear thats it's not a super quick overnight process, and that in order to get to where you want to be you've got to do the work, it's always reassuring to know that other people have taken similar journey's to yourself. 

Podcasts have altered my commute, it's no longer wasted or dead time. I've found myself feeling a lot more motivated since I started listening, and there certainly helping with my new years resolutions of walking to work more.  If like me your a podcast newbie I'd certainly recommend trying them out, downloading means you can even listen on the tube with 100's of topics and shows to choose from. 

Monday 19 January 2015

I just Wanna Bake - Homemade Chewy Toffee


Chewy Toffee was close at the top of my list of sweets to make, although sadly creating it did not go quite as smoothly as I'd imagined. It was in making this recipe for the first time that I realised quite how important a heavy based pan is when boiling sugar - it took me several attempts, a few different recipes and involved a trip to the bin. 

One of the things I love most about making sweets, and this is a strange one, is the research and experimenting involved when my first attempt doesn't quite go to plan, the scribbled notes all leading me towards the perfect combinations. With toffee I leaped in two feet first, hoping for the best. Now as previously mentioned this first attempt didn't go well, it was edible, it just wasn't toffee and it wasn't very nice, I had created a sort fudge/ toffee/ caramel high bred which had no chew to it whatsoever and so sadly into the bin it had to go. It was back to the recipe books, researching how to get the perfect toffee chewy-ness!! These are my top toffee making tips I discovered:

- If you want a chewy toffee cook the syrup to a temperature of between 245-275F
-If its firmer toffee's you desire cook to 320F
-Using a variety of sugars creates a more intense caramel flavour
-Do not leave the toffee's to set completely before cutting - or it's a super tricky task
-No matter how tempted you are DON'T stir the mixture when cooking
-Corn syrup = Golden syrup

Although I used a combination of recipes, my favourite one can be found here.

Ingredients:
-200ml cream (I used whipping but you can use others; single, double etc)
-165g Caster Sugar
-165g Soft Brown Sugar
-75g Unsalted Butter
-3 large Table Spoons of Golden Syrup
-1/4  Teaspoon Salt
-Vanilla Essence 

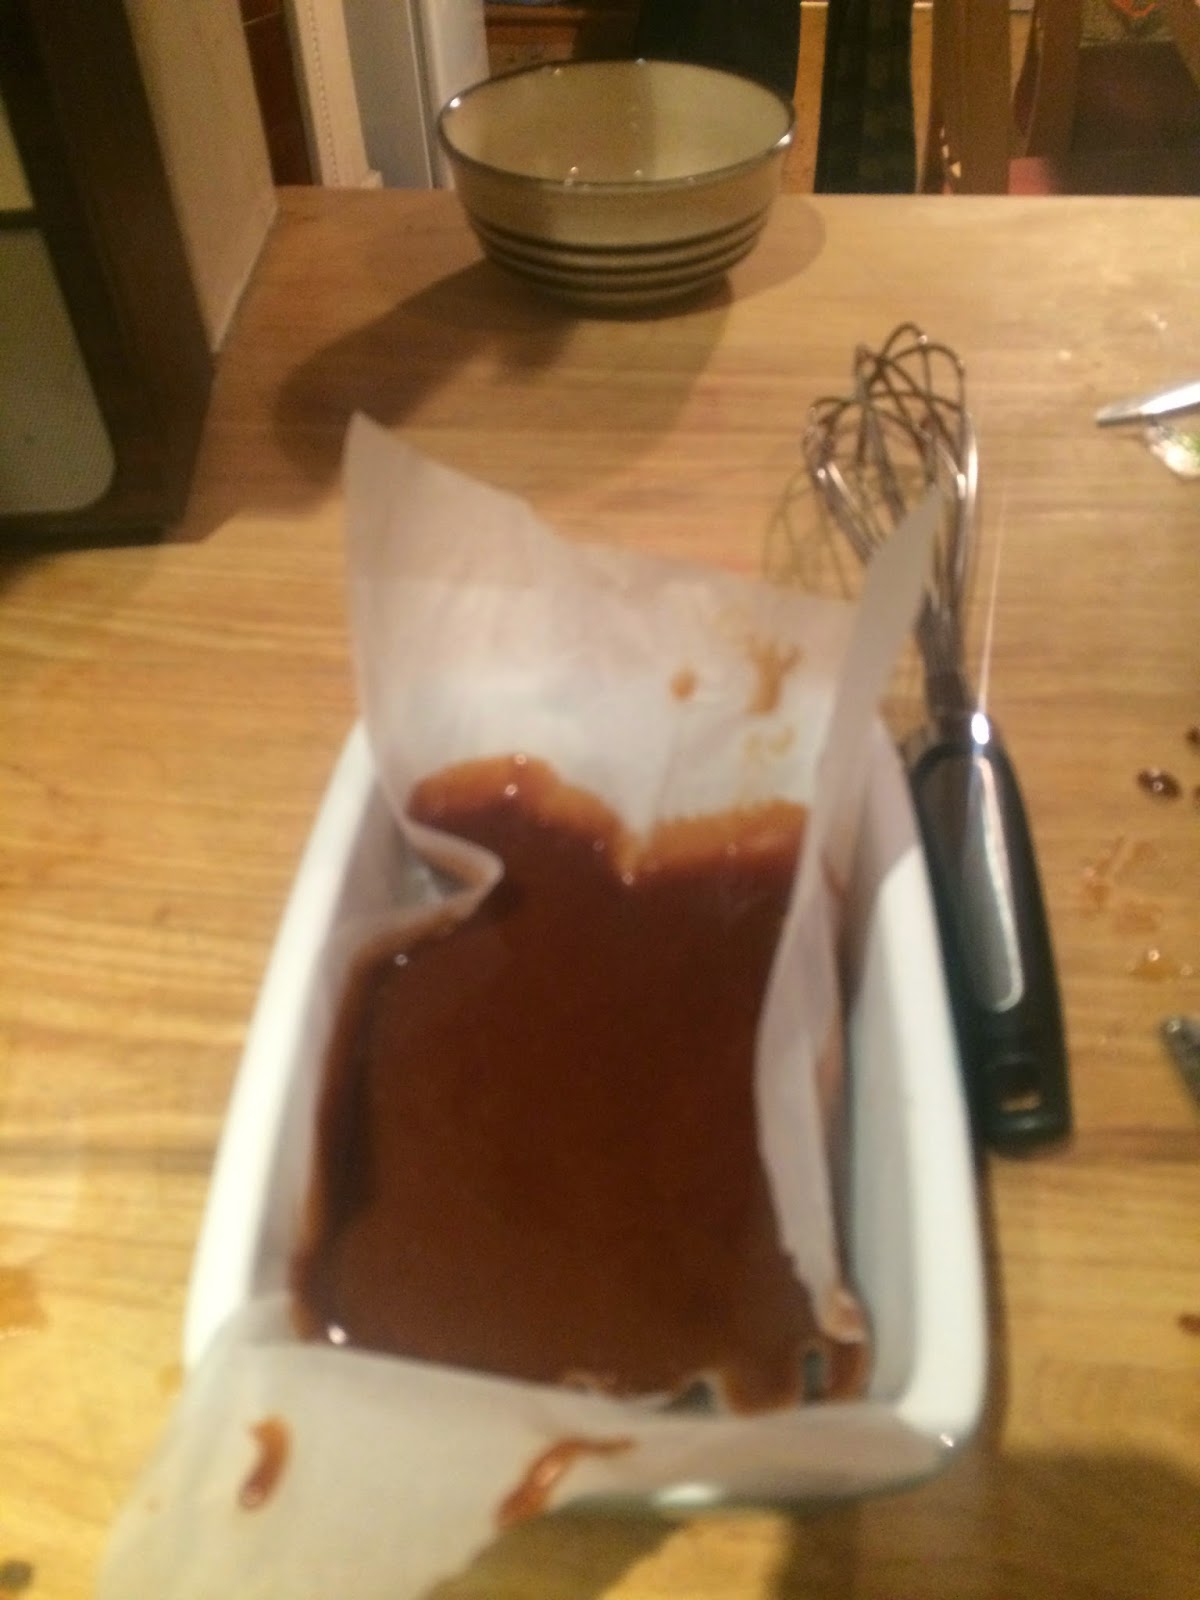
Before you start cooking, like with any recipe prepare your baking tray, line trays with parchment paper ready to pour the toffee into.

Firstly add the caster sugar and 30ml of water into your heavy based pan, melt until golden brown. Then take it off the heat and add your cream, butter, salt, brown sugar and golden syrup - place back onto boil, add your themometre to the side of then pan to keep a close eye on the toffee's rising temperature. DO NOT STIR. You don't want to cook the toffee on a super high heat or the sugar will burn, so keep it on a low-medium temperature, adjusting if you feel it's too high or might start to burn. Be patient. 


Continue cooking the mixture until you reach your desired boiling point, this will vary depending upon the texture of toffees you want. I cooked mine to 245/250F and these created a chewy toffee with a lovely texture. Then take off the heat and add in your vanilla essence. 

Pour the mixture into the prepared trays and leave to set. At this point it you wanted to add nuts of berries to your toffee's you can push them into the mixture while it's still soft and gooey, I left mine plain.


Don't leave your mixture to set completely or it'll be prove to be too hard to cut into pieces, but at the same time you don't want it to be too gooey to cut either. This really is a trial and error process, so you might want to test cutting the toffee every so often.


You can then wrap you toffee in parchment paper, creating individual sweets, and there we have it lovely chewy toffee. 

Thursday 15 January 2015

Grapefruit and Sugar: Birthdays and Valentines


One of my aims for this year was to establish 'Grapefruit and Sugar' more: both in terms of my blog and my design work. With this in mind I've spent the first few weeks of January mocking up ideas and making them come to life - in the form of Birthday and Valentines cards. I still have a few more to add, but the first bunch of 2015 lovely's can now be found on my Etsy

I'm so glad my little collection is starting to come together and that at least one of my resolutions is still going strong.


Tuesday 13 January 2015

Resolutions: 2015


We are now well and truly into January, so I've had a fair bit of time to think about my resolutions and what I want to achieve from 2015. For me 2014 was a bit of a none year, I set out with no expectations of it, no goals I wanted to aim for, no accomplishments I needed to make and this was just how 2014 was, a bit of a close your eyes and see kind of year and it worked out ok. For 2015 however I'm hoping for more than ok, so I've decided to give resolutions another go:

'Biggies'
-Establish 'Grapefruit and Sugar' 
-Attend Craft fairs
-Continue Spanish classes (practice)
-Screen print
-Travel somewhere beautiful!

'Babies'
-Walk to work
-Read 
-Blog on a more regular basis
-Don't take London for granted
-Knit

...fingers crossed!